This month we will be making quarter circles! These quarter circle blocks are one of my favorite blocks to make. You’ll see them in a LOT of my quilts! Hope you enjoy it as well.

This month you will need your background fabric and Colors 2, 4 and 5. You will also want to download the PDF instructions and Templates for these blocks.
Cutting:
(5) 9” x 9” squares of Background Fabric
(2) 9” x 9” squares of Color 2 Fabric
(1) 9” x 9” squares of Color 4 Fabric
(2) 9” x 9” squares of Color 5 Fabric
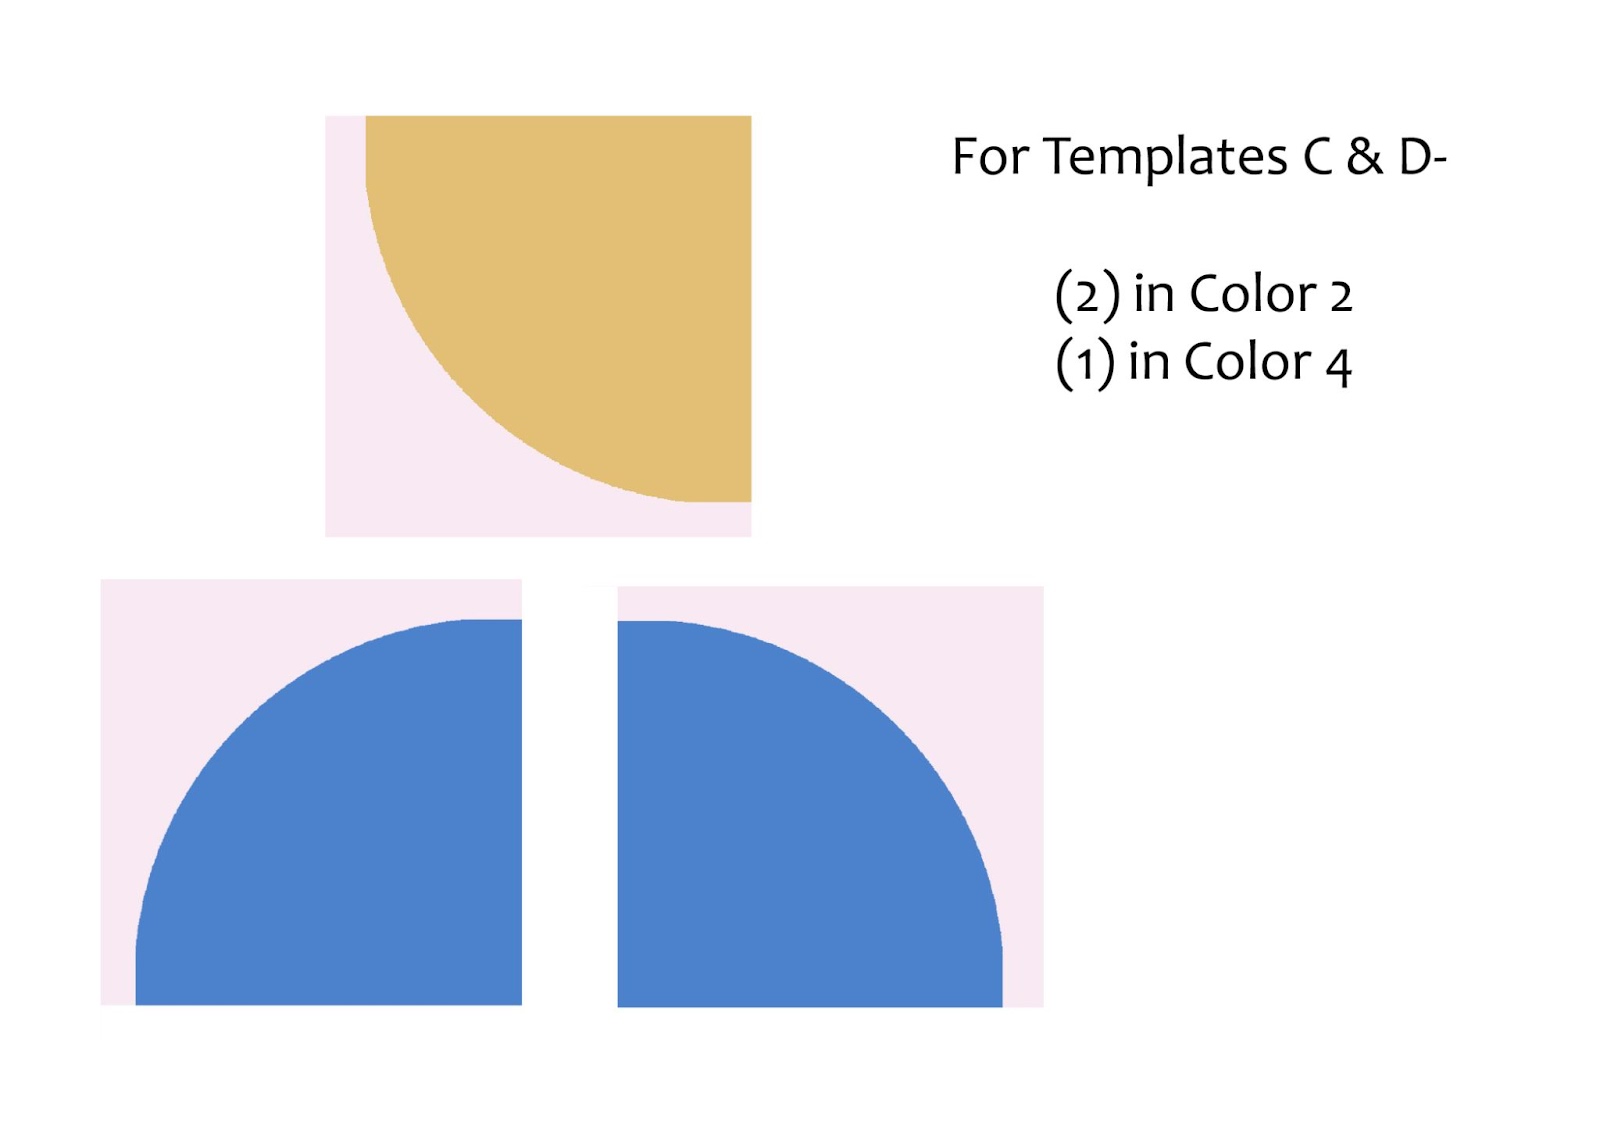
Cut out the two sets of templates and tape them together

Step 1: We’re going to start with Templates A and B for the smaller quarter circles in Color 5. Stack your Color 5 fabrics and position the Template B in the corner. Cut along the dashed line, the ¼ seam allowance line.

Step 2: Stack your Background fabrics and position Template A in the corner. Cut along the dashed line, the ¼ seam allowance line.
When cutting, be aware if you have directional fabric, that the fabric will be in the correct direction. This is most important with the two Color 2 blocks, using Template C, as they will be mirror images of each other.


Step 3: Position the background piece on top of the Color fabric. Sew the pieces together along the curved edge. Sew slowly and ease the background fabric along the curve of the Color fabric. Avoid stretching the fabrics. Both edges will align.
I don’t pin, but you can. Starting at the center of both curves, pin and work your way to the edges. Then sew along the curves.

Step 4: Iron the seam allowances toward the quarter circle.
 Step 5: Trim the block to 8 ½” square. When trimming, position the quarter circle to be 2 ¾” away from the corners. (The 2 ¾” doesn’t need to be exact, as the circles do not align with other blocks.)

Step 6: Repeat for the other block. You will have two of these blocks, both in Color 5.

Step 7: Repeat steps 1 thru 6 with Templates C and D and your Background fabric and Colors 2 and 4. Trim the block to 8 ½” square. For these blocks, position the quarter circle to be ¾” away from the corners.
 Step 8: You will have three of these blocks, one in Color 4 and two in Color 2.

Step 9: We’re not going to let our scraps go to waste! For these, you don’t want to align the edges, but offset them about a ½”. Or you can pin starting from the center. Then sew them together following Steps 3 and 4.

Step 10: You will end up with 5 more blocks. I didn’t trim mine. You can square them or you can leave as they are until later! Set aside and we’ll use these later!
Hopefully, you enjoyed these as much as I do!
