Are you ready for some inset circles? That’s what we are doing this month!

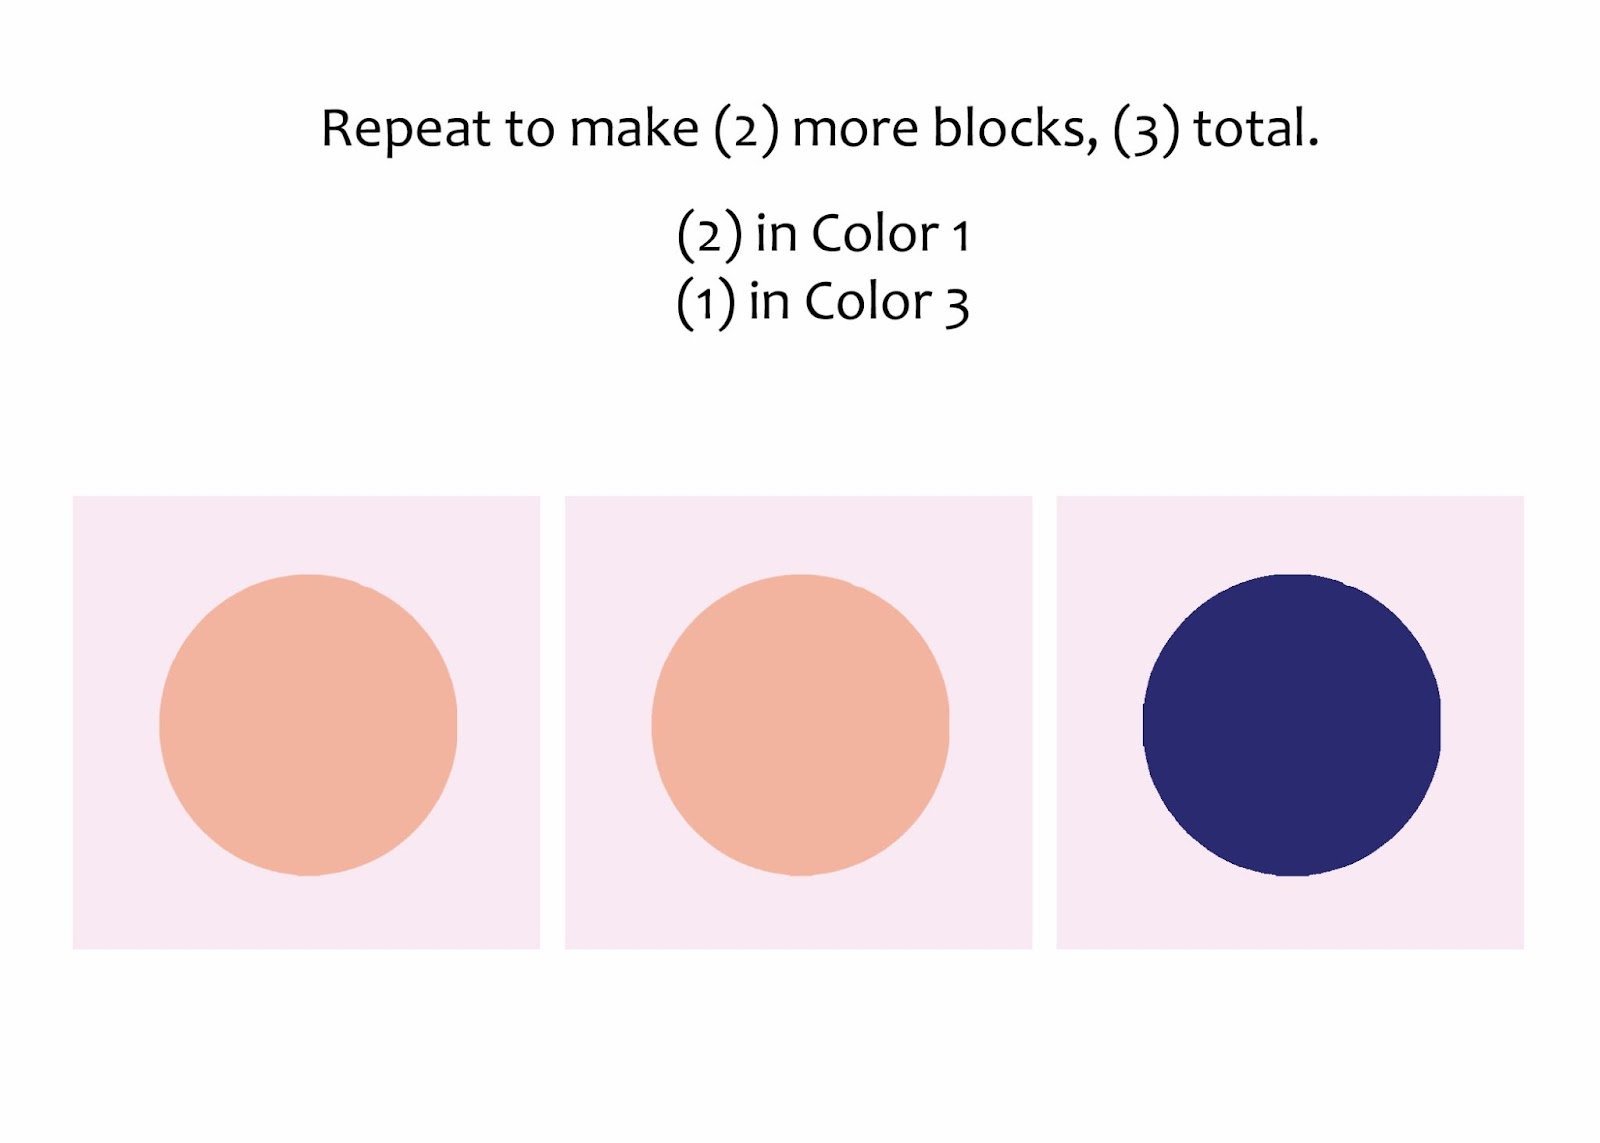
We’re going to make (3) inset circle blocks using your background fabric and Colors 1 and 3.
Cutting For the Inset Circles:
(2) 6” squares of Color 1.
(1) 6” square of Color 3.
(3) 9” squares of the background fabric
Additional materials:
Plus (1) to (3) 8” square pieces of freezer paper
Glue, I use both Elmers school glue and a stick glue
There are numerous ways to make inset circles. I’m going to show you the way I make them, but you are, of course, welcome to use any way you want. If you have a favorite tutorial, go for it! You could also applique the circle if you prefer. To make the blocks the way I enjoy making them, you will also need freezer paper and glue and a glue stick.
I started making circles this way back in 2015 when I wanted to make a sports themed quilt for my nephew. I take no credit for this method, but it’s by far my favorite! I also made myself a tutorial and it’s on my blog. Yes, I made the tutorial for myself, because I go back to almost every time I do this! Ha!
Inset Circle Tutorial
If seeing actual photos helps, the tutorial may help. On my blog, there’s also a link to a video of someone else using this technique.
You can download the PDF of the instructions
here.
Step 1: Prep the freezer paper. Cut an 8” square of freezer paper and then cut a 5” circle in the middle of the freezer paper.

Step 2: Iron the freezer paper to the wrong side of your background fabric. Then cut out a circle in the middle of the freezer paper and background fabric. I cut the circle about 4”, leaving about a ½” seam allowance. This circle does not have to be exact!

Step 3: Snip around the seam allowance. For this size circle, I spaced my snips about ½” apart. Do not snip all the way to the freezer paper.

Step 4: Use the glue stick to glue down the seam allowances to the freezer paper. I glue around a quarter of the circle and then fold over the seam allowances onto the freezer paper. I finger press them over. The seam allowance should stick to the freezer paper well without the need for ironing.

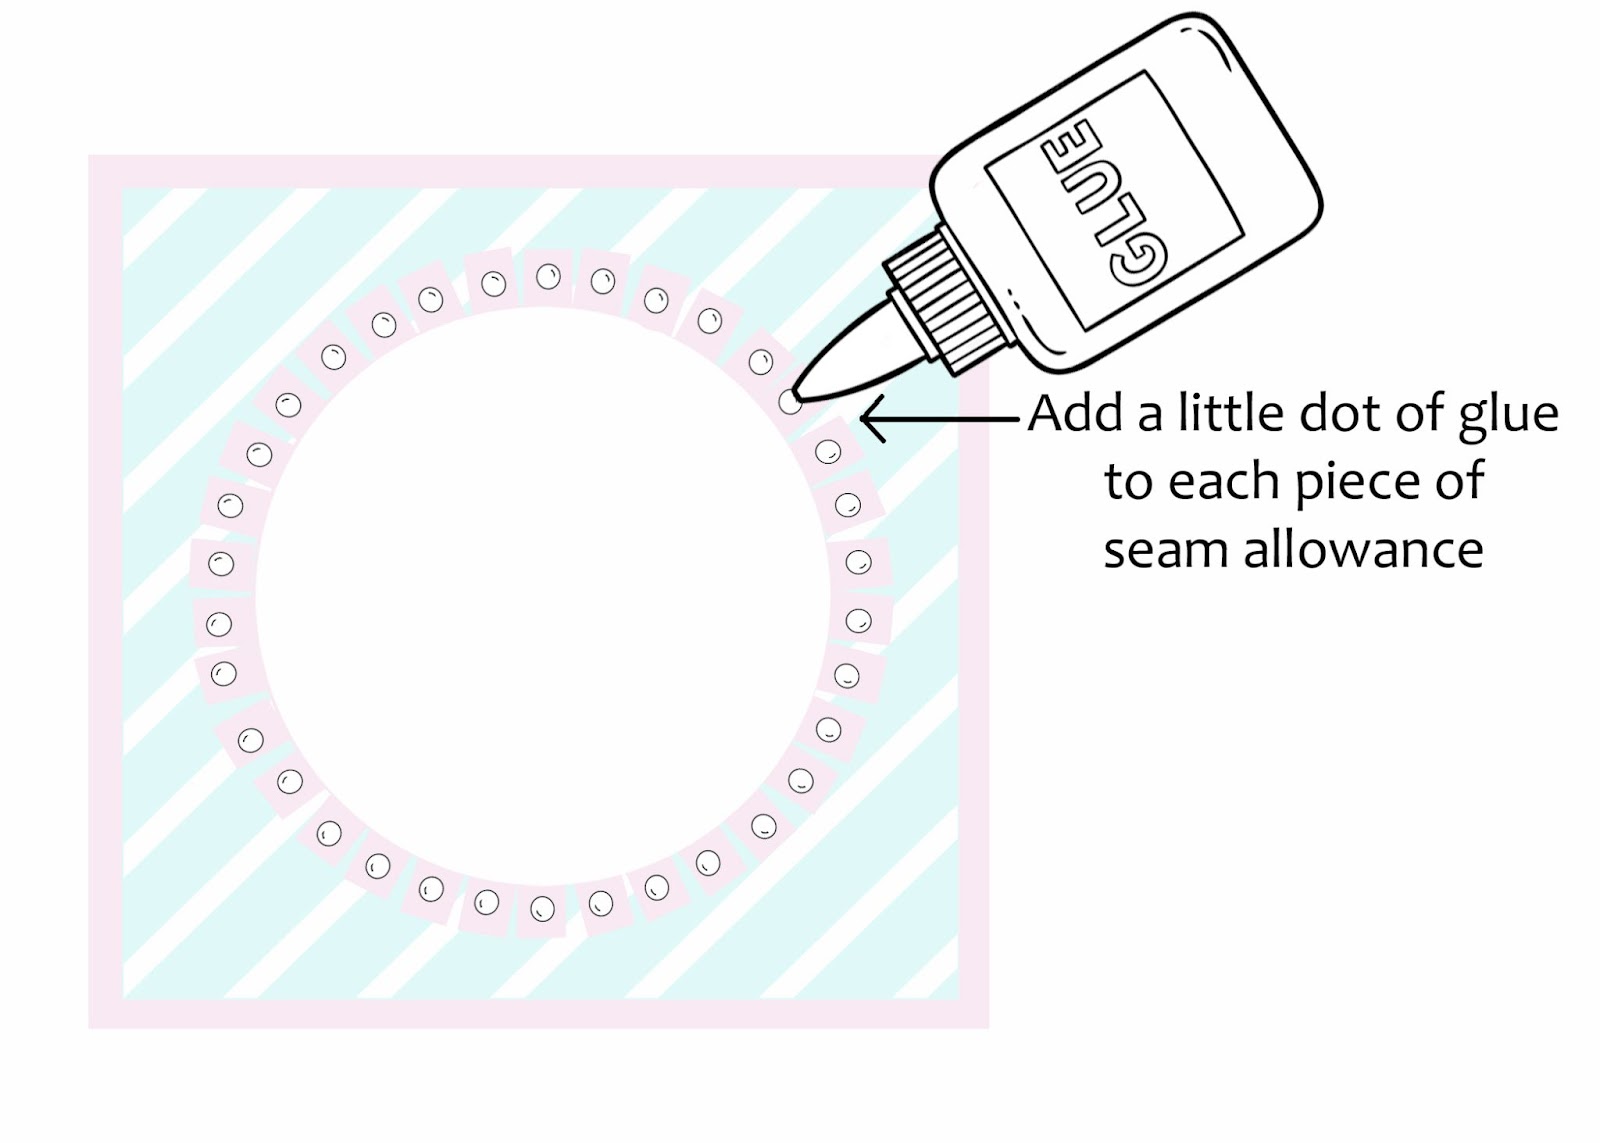
Step 5: Put a little dot of school glue on each piece of the seam allowance. Light on the glue, you don’t need much!

Step 6: Flip over the background piece and center it on your square of color fabric. Color Fabric right side up and background fabric right side up. At this point it will look like the finished block.
Press the two pieces together.

Step 7: Now to sew the pieces together. Gently pull the main background fabric away from the freezer paper. Then stitch in the ditch around the circle along the edge of the freezer paper. As you stitch around the circle, you will continue to be separating your background fabric from the freezer paper and, ever so slightly, pulling it out of the way of the stitch line.

Step 8: This step is a few steps all wrapped into one to finish the block!
Remove the freezer paper. If you do it carefully you can reuse it for the next two blocks.
Trim your seam allowances and iron the block with the seam allowances away from the center circle. And lastly, trim the block to an 8 ½” square.

Repeat steps 1-8 with your second Colors 1 block and the Color 3 block.
 Congrats, your inset circles are complete!
